
If you love learning new ways to use your patterned papers, you are going to LOVE the Stack and Shuffle Card Technique!

This technique has you pick multiple patterned papers to quickly make multiple cards that are similar, yet each is unique based on the layout of your papers.
Stack and Shuffle Card Technique
Step 1: Select Your Papers
The key to using this technique is selecting 3-4 different patterned papers that look good together.
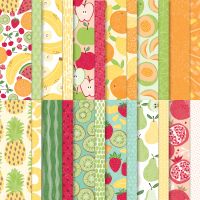
For these fun citrus birthday cards, I selected 4 patterns of paper from the Fruit Salad paper pack.
When selecting your papers, look for colors that coordinate and patterns that complement each other instead of clashing.
Step 2: Stack and Cut Your Papers
Once you’ve selected your papers, cut each pattern to 4″ x 5-1/4″.
Before you stack your papers, you may want to lay them out in the order you want them on your cards. Don’t overthink this!! If I have two pieces with multiple colors like this citrus paper (yellow and orange) or two pieces with bolder patterns, I like to have them diagonally across from each other to balance out the cards.
Once you have the paper order you want, stack them up into a pile. If you’re using my tips above, stack them so the two pieces with multiple colors or bolder patterns are separated by one other paper in your pile.
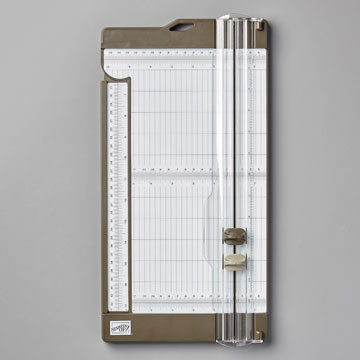
This is MUCH easier if you have a paper cutter that can cut through all 4 pieces at the same time because your pieces will be even. If you need to cut only one piece at a time, be as precise with your measurements as you can be.
Also, if you cut all 4 pieces together you don’t even need measurements! Just cut where you’d like. For my cards, I made one vertical cut at 2-3/4″ and then I turned those pieces and cut at 3″. Then I cut the 1-1/4″ strip at 2″.
Step 3: Shuffle Your Papers
Layout your 4 piles of patterned paper in the order they will be on your cards.
Shuffle the pieces around by picking up the top right pile of papers and putting the top piece on the bottom.
Then pick up the bottom right pile and put the top TWO pieces on the bottom of the pile.
Finally, pick up the bottom left pile and put the top THREE pieces on the bottom of the pile.
You should now have all 4 different patterns showing on top of the piles to make your first card with.
Step 4: Make Cards
These pieces will fit perfectly on the front of an A2 card base (5-1/2″ x 8-1/2″ scored at 4-1/4″) with a 1/8″ border around each of the patterned paper pieces. I suggest lining up your papers around the edges of the card base for the best results. If the borders are off a little in the middle it won’t be as noticeable.
To save time you can use the same main image/greeting on each of your cards or you can make each one totally unique. It’s your choice.
Embellish as desired.
I hope these instructions inspire you to give the Stack and Shuffle Card Technique a try!
Happy Stamping!
Jessica
P.S. Want to know what to do with the rest of the patterned paper pieces left over after making these cards?
Join the One Sheet Wonder Card Club and check out the January 2022 Club video. I’ll also walk you through all the steps of the Stack and Shuffle Card technique. Plus if you want to try this technique with 3 pieces of patterned paper you’ll find instructions in the December 2023 Club video.

Supplies Used:



Get more card making tips & tricks!

Subscribe to get more card making ideas from Jessica by email.


